Generating Keys
Creating cryptographic assets within Netcatty
You don't need to open a terminal and remember ssh-keygen -t ed25519 -C "comment" flags. Netcatty builds this in.
The Generator Workflow
Open Generator
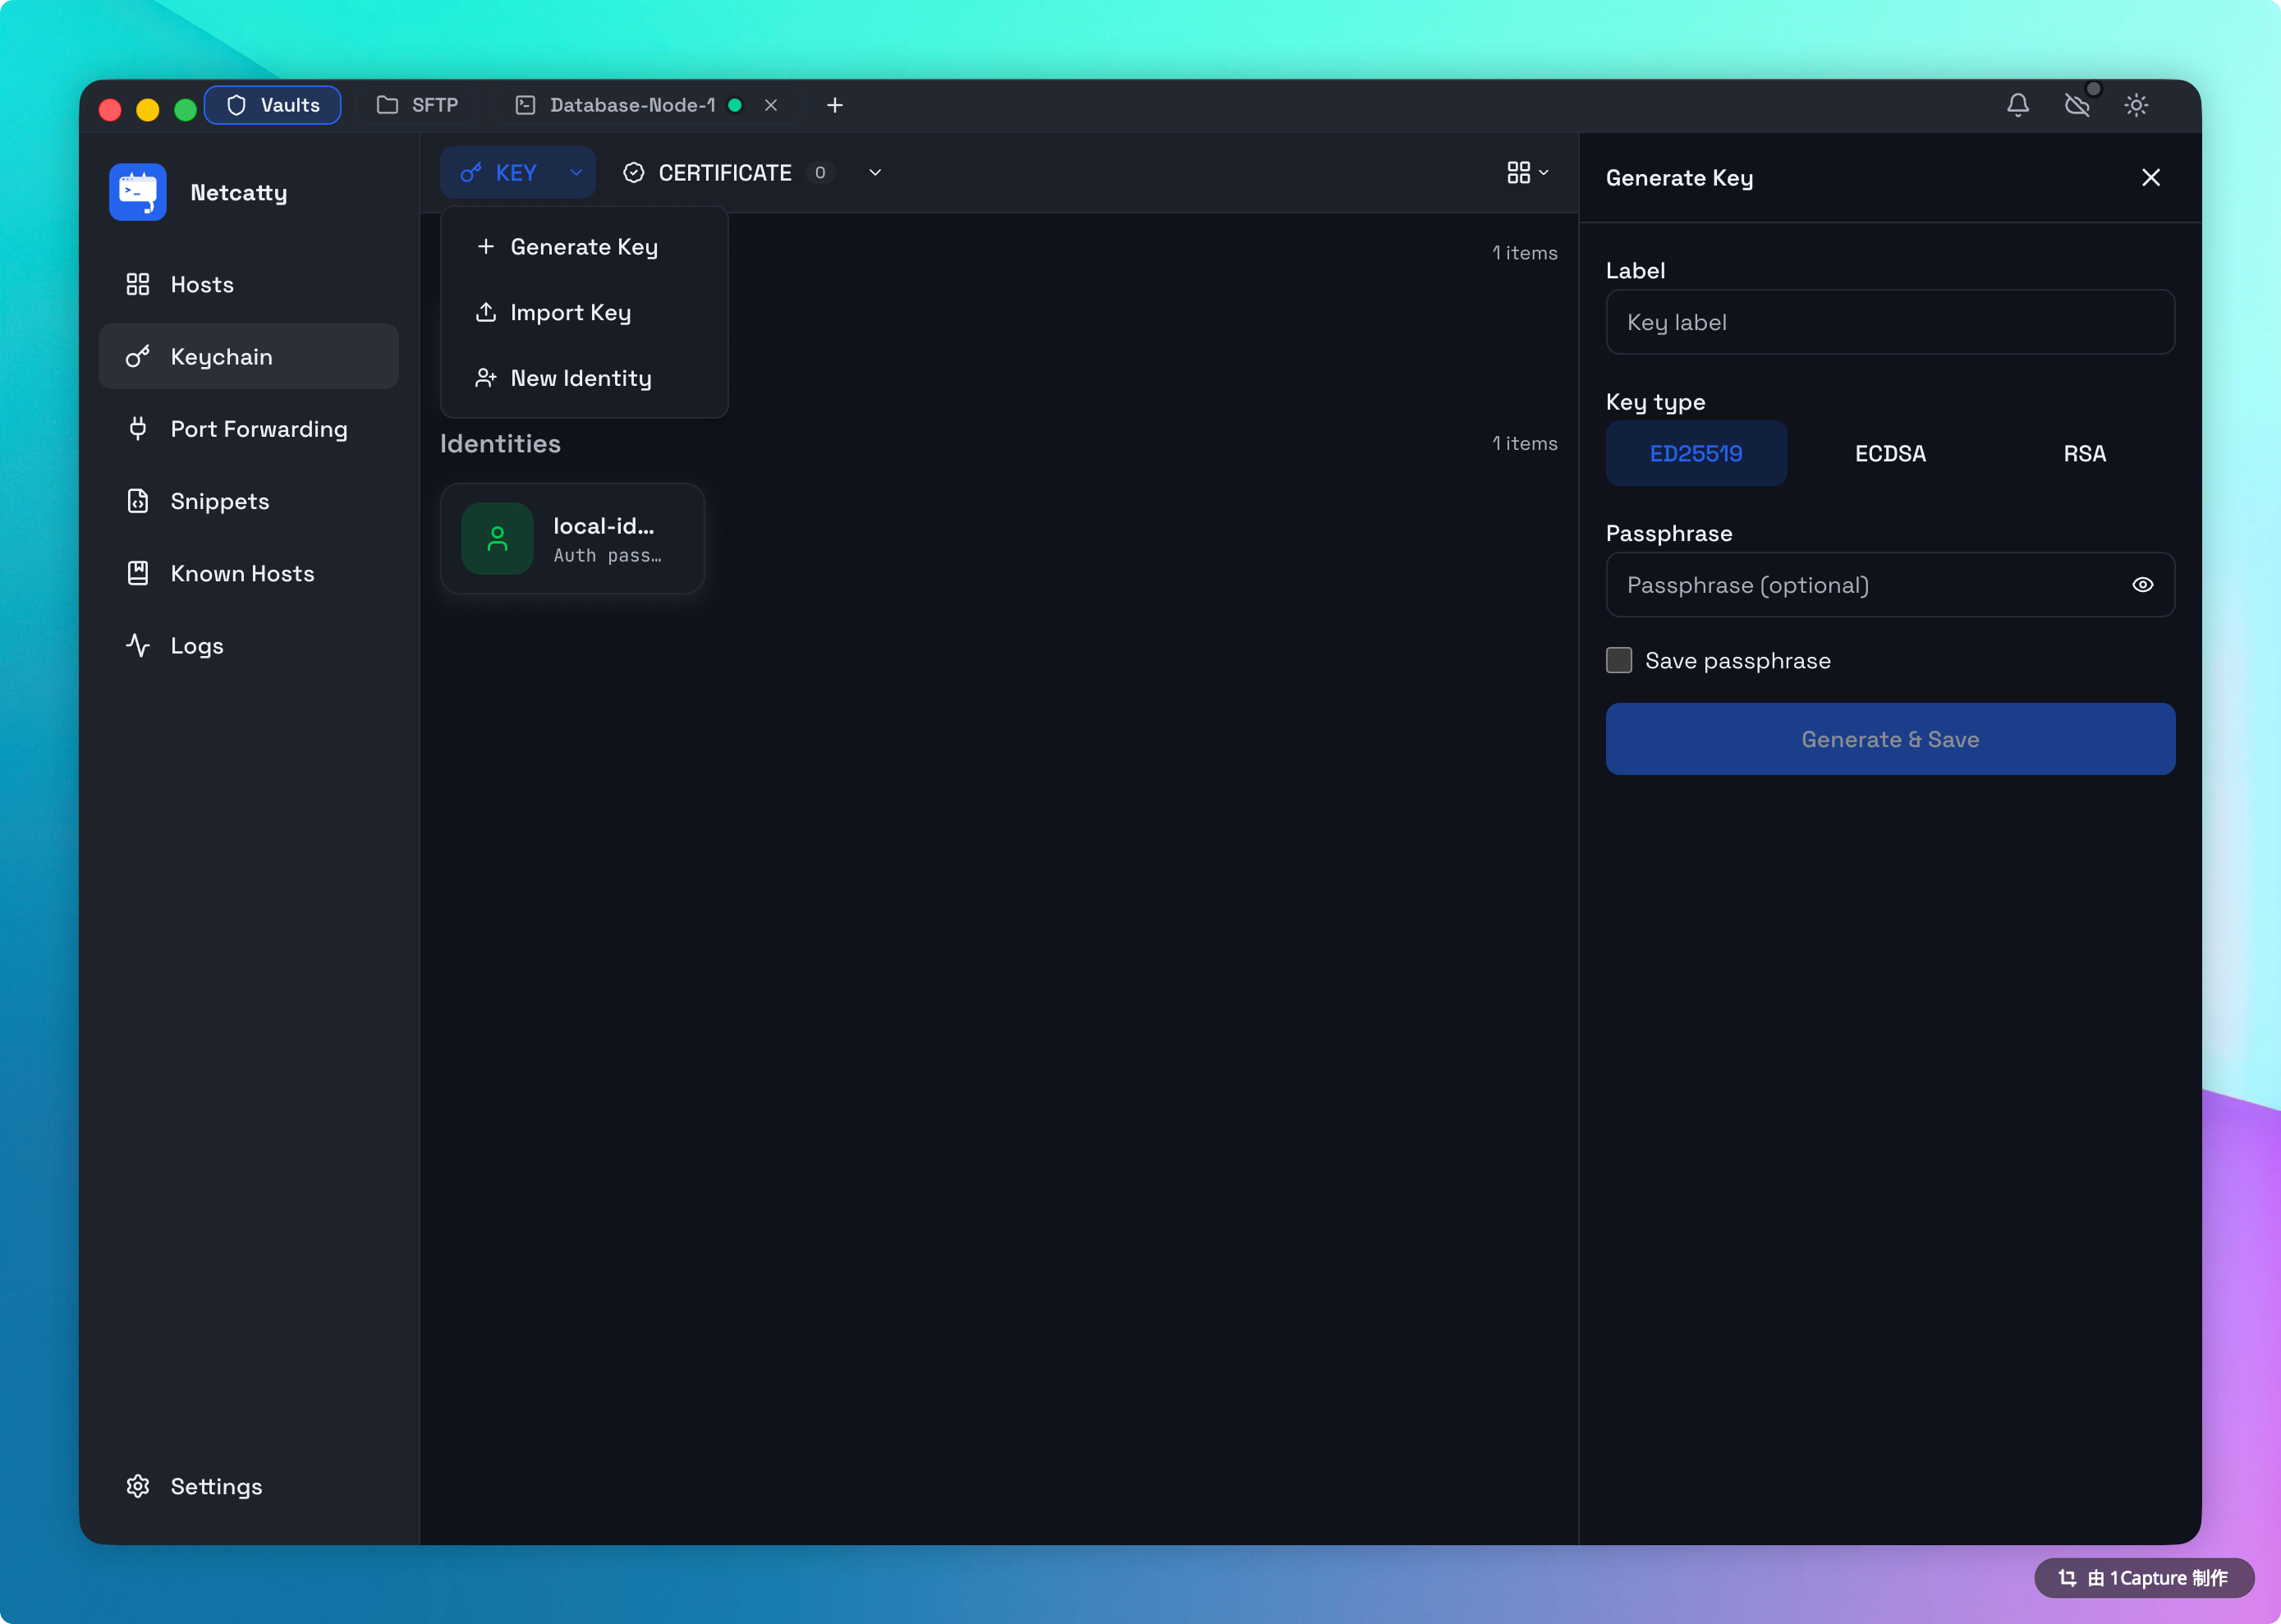
In the Keychain Manager, click Generate New Key.
Select Algorithm
Default is ED25519. Unless you are connecting to a router from 2005, do not change this. It is superior in every way.
Passphrase (Optional)
- Empty: Convenience. No prompt when connecting.
- Set: Security. If your laptop is stolen and unlocked, the thief still cannot use the key without this second password.
- Recommendation: Use a passphrase for Production keys. Use empty for Dev/Test.
Save
Click Generate. The key will be securely added to your local Keychain. You can now link it to an Identity.
Deployment (Key Export & Attach)
Generating a key is step 1. Step 2 is telling the server to trust it.
1. Copy Public Key
In the Keychain list, every key has a Copy Public Key button.
- Click it to copy the public key string (e.g.,
ssh-ed25519 AAAAC3Nz...). - Log in to your server.
- Paste the string into
~/.ssh/authorized_keys.
2. Export and Attach (Automated)
Netcatty can automate this for you if you currently have password or existing key access to the host.
- In the Keychain, click Key Export on your desired key.
- Select the target Host.
- Netcatty will securely log in and append the public key to the server's
authorized_keys. - The Host configuration will automatically update to use this key for future connections.
Permission Checks
The automation script attempts to ensure .ssh folder (700) and authorized_keys (600) have secure permissions. If these are world-readable, SSH will reject the connection.
Exporting Keys
Sometimes you need the file.
- Public Key: Safe to share. Available as
.pubtext. - Private Key: DANGER. Exporting this writes an unencrypted file to your disk (unless you keep the passphrase).
- Use this only if you need to use the key in another app (e.g., FileZilla).
- Netcatty warns you loudly when you do this.